mortal shell ii · mortal shell 2 map
Mortal Shell 2 Map: Beta Areas, Statues & Key Items
Last verified: 2026-08-18
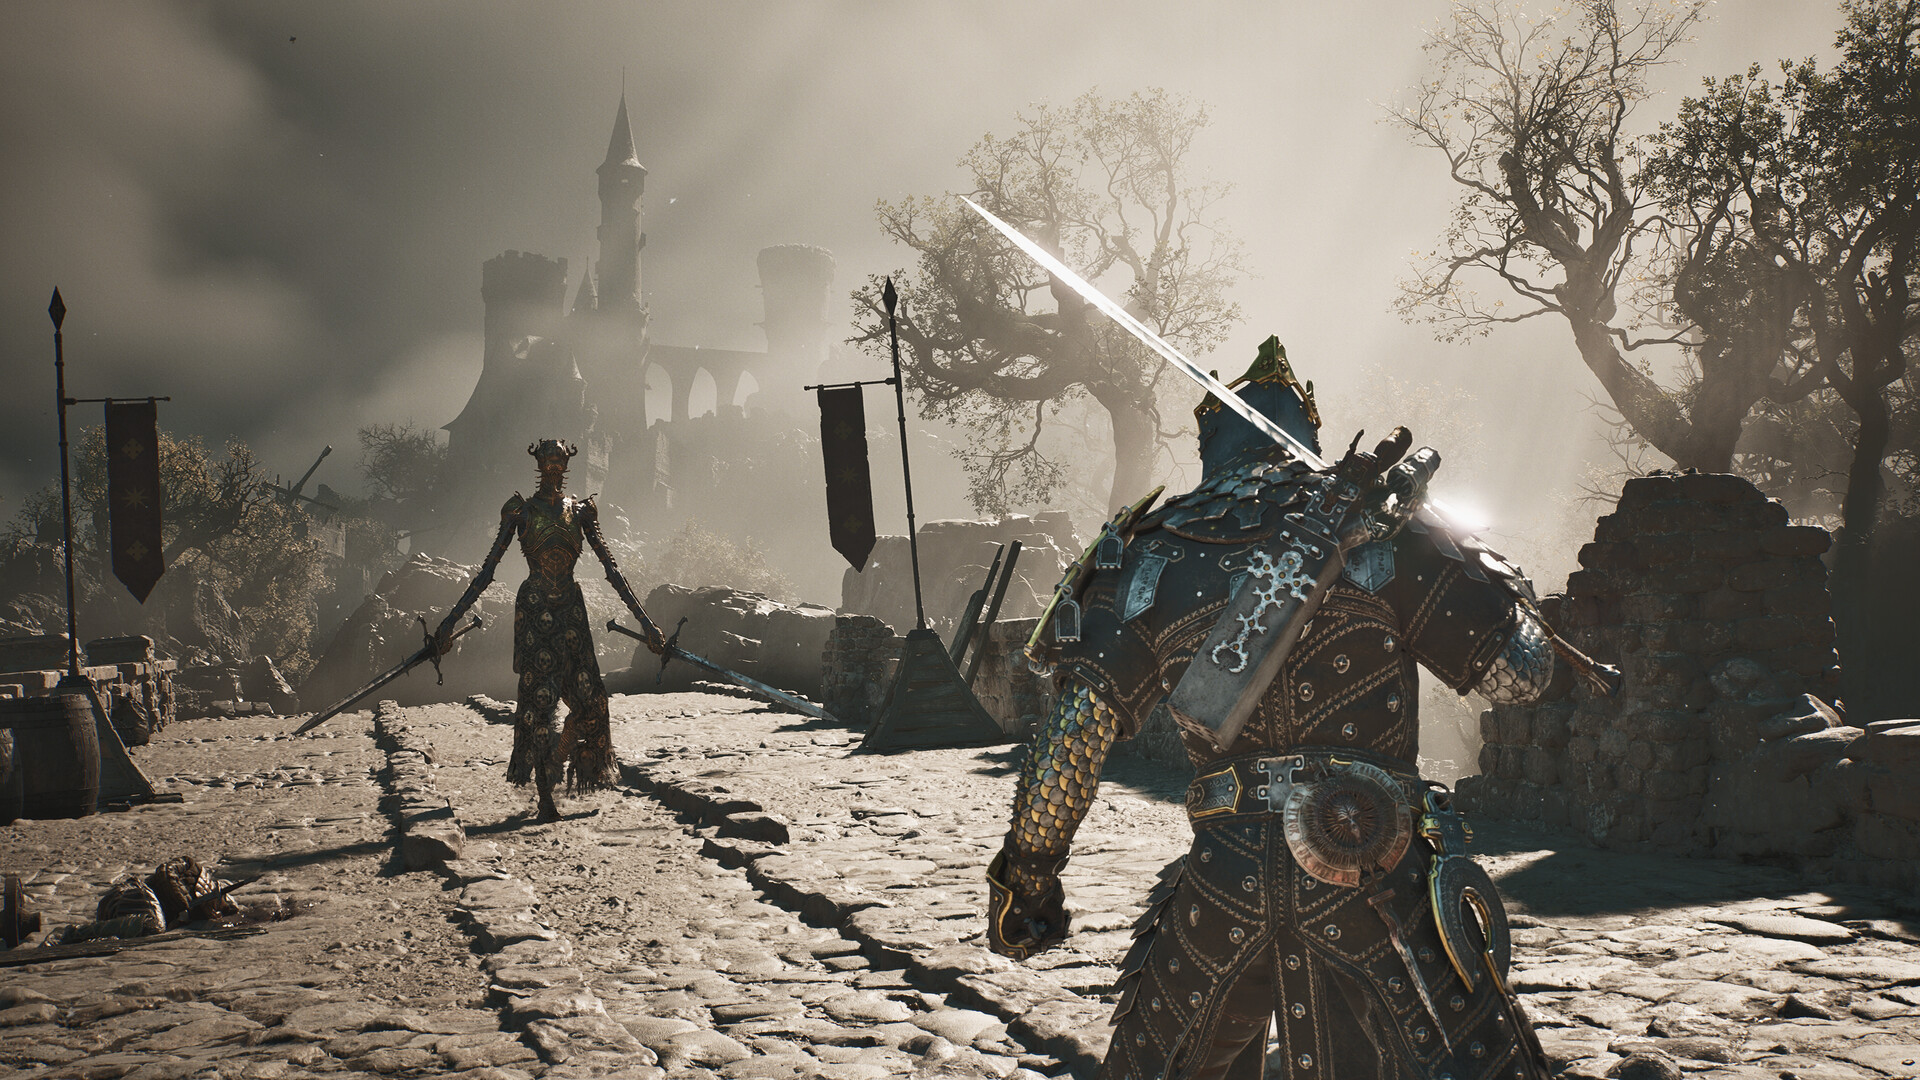
The Mortal Shell 2 map does not fill itself in as you explore — walk every path in a region and the fog of war stays put. To reveal the terrain you must find large statues, some of them watched over by the black bird Ruk, and pick up the map fragment lying in front of them. This guide explains how the Mortal Shell 2 map works, how many fragments and statues exist in the current build, and the key items worth grabbing in each early area. Verified 2026-08-18.
How to reveal the Mortal Shell 2 map
GamesRadar's map guide lays out the mechanic clearly:
- Exploration reveals nothing on its own. You can stand inside an area and still see it under fog of war.
- Statues hold the fragments. Pick up the fragment in front of a statue and that area's terrain appears.
- Fragments are auto-marked. When you enter a new area, every fragment location shows up on your in-progress map as a black bird icon. Finding them is easy; reaching them is the real work.
- Ruk-guarded maps matter most. The crucial maps watched over by Ruk also reveal the area's Corrupted Gates, which point toward your next main story destination.
So the routine for every new region is simple: arrive, open the map, note the bird icons, and route to the nearest fragment before doing anything else. Video guides put it the same way — revealing the map is literally the first thing to do in any new area. Ruk himself is framed as an "old friend" in GamesRadar's coverage, a nod to returning players, and his statues are deliberately placed off the obvious path so each reveal feels earned.
The Mortal Shell 2 map so far: areas in order
Based on the current build, the Mortal Shell 2 map unfolds in this rough order:
- The prologue — a scripted opening through the Disciple's Pass area into the Disciple's Grotto, ending at the Tar Golem.
- Marrow Keep — the hub you return to constantly: upgrades, shell bonding, the Gloom Siphon, and launch points to the open world.
- Fainweald — the first open-world region and the bulk of the early game, holding Mushroom Village, Blackridge Cliffs, the tavern, and the western citadel.
- Ruins of Mammon and beyond — the later region chain where several shells and bosses wait, visible in guides built on the full release.
The developers describe the world as "interconnected, expansive yet deliberately compact", and the official feature list promises over 60 handcrafted dungeons — the beta's hard-boundary slice only hints at the final shape. Those dungeons are not procedural filler: testers describe everything from single-room puzzle boxes to long gauntlets ending in bosses, and they double as the main source of upgrade materials, so skipping them leaves you underpowered. Make a habit of fast traveling back to the keep whenever you cleanse a new beacon; travel is free in both directions, and the hub is where every Ovum, Glimpse, and material turns into actual power.
All 11 map fragments
The community-run interactive map, which builds its markers from game files, lists exactly 11 map fragments and 11 map stations in the current build, and a dedicated All 11 Map Piece Locations video walks through every pickup in order starting from Fainweald. Collecting every Mortal Shell 2 map fragment also looks to feed a navigation trophy — one popular location video is explicitly framed as a "Sat Nav" trophy guide. The same dataset gives a useful sense of the world's density:
| Marker category | Count in current build |
|---|---|
| Pickups | 342 |
| Hazards | 103 |
| Gather resources | 88 |
| Chests | 80 |
| Artifacts and upgrades | 78 |
| Gates and doors | 55 |
| Dungeons | 36 |
| Zones | 27 |
| Beacons | 15 |
| Map fragments | 11 |
| Map stations | 11 |
All statues: the cleansing achievement
Do not confuse the fragment statues with the corrupted statues tied to a separate collectible thread. Beta footage shows an achievement notification for cleansing all statues in the beta, and a related community trophy video is titled "A Dark Force is Near" — both pointing at a statue-cleansing achievement line. In the beta areas, cleansing involves hunting down offerings around places like Mushroom Village and lighting or cleansing each point, and players report the cleansing animation grants invincibility frames.
A few honest caveats as of 2026-08-18: no official roster of statue locations or coordinates has been published, and some beta achievements may be beta-exclusive. Treat any "all statues" checklist as provisional until the full game is out, and record your own route notes as you cleanse — beta progress resets regardless.
If you want to hunt statues yourself, the methodical approach recommended by community guides is: secure the nearest beacon first, clear the main route, then sweep side rooms, elevated paths, sealed chambers, and anything behind shortcuts. Log what you find with screenshots, and separate confirmed cleansing points from mere statue-shaped scenery — not every stone figure is a collectible.
Key items worth grabbing early
While you route between bird icons, several Mortal Shell 2 map pickups punch far above their weight in the opening hours:
- Chapel Key (Mushroom Village Key): behind the bonfire illusion arch; opens the Shrine of Trials and its Axe and Dagger. Full route in our chapel key guide.
- Cage Key: bought, looted, or skipped entirely by breaking the padlock at the Grisha hunter camp — details in the same guide.
- Obsidian Lathe: chested at the end of the Martyr's Tomb dungeon; hand it to Franz to unlock sidearm upgrades.
- Etching Needles: another find-and-deliver item for Franz, required before Tarstones can be leveled at all.
- Shells themselves: Proxima at Blackridge Cliffs and Tiel in his Mushroom Village grave are both marked free after the prologue — collect them on your first Fainweald sweep.
Areas of the world
Everything routes through Marrow Keep, the central hub with its NPCs, upgrade services, and the launch points out to each region. From there, the current location index spans these named areas and dungeons:
| Area | Why you go there |
|---|---|
| Fainweald | The first big open-world region, holding Blackridge Cliffs and much of the early game |
| Blackridge Cliffs / Widow's Overlook / Blackridge Hamlet | Northern Fainweald heights; the Proxima shell waits in a shattered beacon here |
| Mushroom Village | Tiel's grave, the bonfire illusion, and the chained chapel — see the chapel key guide |
| Ritual Grounds | Dungeon just southwest of the chapel key bonfire |
| Disciple's Pass / Disciple's Grotto | Prologue route and the Tar Golem arena |
| Citadel of Penance | Far west Fainweald; Eredrim's unlock fight |
| One-Legged Wolf Tavern | Eastern Fainweald; Gragu's quest start |
| Ruins of Mammon | Later region with the Sariel, Lazlo, and Sester Genessa unlock chains |
| Sunken Village / Flooded Village / Forlorn Village | Waterlogged side regions, including the Wandering Shepherd's farm |
| Martyr's Tomb / Martyr's Prison | Dungeons; the Obsidian Lathe for sidearm upgrades is chested in Martyr's Tomb |
| Gloomshade Grove, Sanguine Caverns, Obsidianite Mines, Deserted Mine | Resource and dungeon zones from the location index |
| Hermit's Pass, Coward's Retreat, Holding Cells, The Hidden Keep, The King's Crypt, Shrine of Trials | Remaining indexed areas and dungeons |
Navigation tips that save hours
- Discovering a beacon is instantly useful. First contact registers you with the Under Mother, unlocks leveling, and enables fast travel back to Marrow Keep — no cleansing required.
- Cleansing is the second step. Burning away a beacon's corruption opens sealed loot and blocked paths, triggers a trial gauntlet, and pays out an Ovum to feed the Gloom Siphon back at the hub.
- Beta boundaries are hard walls. If a path refuses to exist, you have probably hit the edge of the preview slice rather than a puzzle.
- Use the interactive map between sessions. InteractiveMap.app is free, mobile-friendly, tracks your progress locally, and covers every category in the table above — run the Mortal Shell 2 map on a second screen while you play.
Whether you are chasing the last bird icon or a cleansing achievement, the Mortal Shell 2 map rewards methodical routing over blind wandering — grab each fragment first, cleanse second, and the world opens in the right order. New to the game? Start with our beta page for what is playable right now.
Watch it in action
FAQ
How do you reveal the map in Mortal Shell 2?
Find the large statues scattered around the world — some watched over by the black bird Ruk — and pick up the map fragment on the ground in front of them. Exploring alone never lifts the fog of war.
How many map fragments are there?
Eleven in the current build, according to the community interactive map's game-file data and an All 11 Map Piece Locations video guide. The full release may add more.
What are the black bird icons on the map?
Map fragment markers. When you enter a new area, each fragment location is automatically marked with a black bird icon — the challenge is reaching them.
What do Corrupted Gates mean on the map?
The more important maps, guarded by Ruk himself, also reveal the area's Corrupted Gates, which point you toward the next main story destination.
Is there an achievement for cleansing all statues?
Beta footage shows an achievement for cleansing all statues in the beta, and a related trophy video is titled A Dark Force is Near. The full game's exact achievement list is unconfirmed.
Is there an interactive map for Mortal Shell 2?
Yes — InteractiveMap.app hosts a free community map with over 1,000 markers across 25 categories, built from game-file data.
Sources
- GamesRadar map reveal guidehttps://www.gamesradar.com/games/rpg/mortal-shell-2-map/
- InteractiveMap.app community maphttps://interactivemap.app/mortal-shell-2/
- mortal-shell-2.wiki statues guidehttps://www.mortal-shell-2.wiki/walkthrough/mortal-shell-2-all-statues
- Steam Mortal Shell II pagehttps://store.steampowered.com/app/2584270/Mortal_Shell_II/
- Xbox Open Beta store pagehttps://www.xbox.com/en-US/games/store/mortal-shell-ii-open-beta/9N1NPQRFBGTX
- Official Mortal Shell II sitehttps://www.mortalshell.com/